

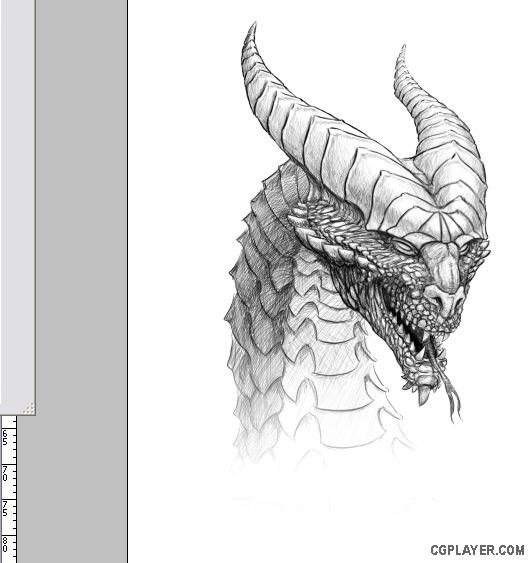
In this tutorial we are going to color a dragon portrait. Like I always said, it's impossible to make a good painting without a good sketch, that's why if your drawing is not as strong as you'd like, you should go ahead and buy a sketchbook before taking up photoshop or tablet or any other stuff like that.
 |
Here, I create the background with my flame brush, the drawing is in the multiply layer. First I form a dark background and then lighten the parts around the portrait with the same brush, this will help us see the figure clearer in the future.
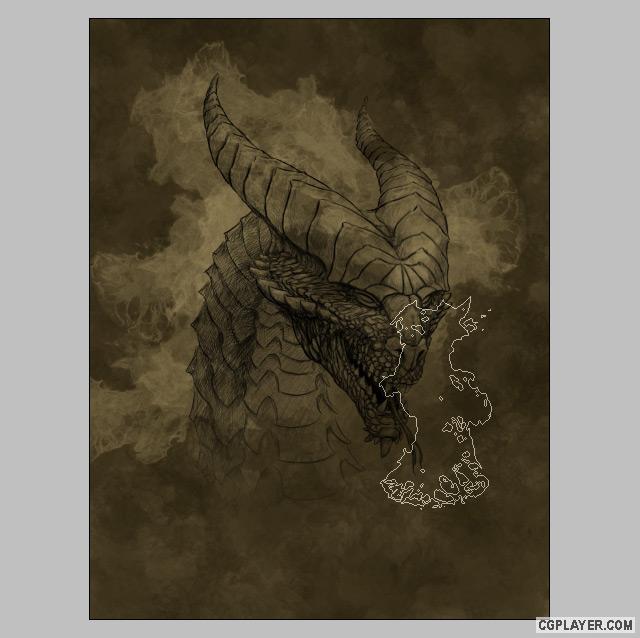 |
Using my texture brushes, I applied the texture to the background that I created, though I am careful not to apply at the same intensity around the figure. The best way is to open a new layer and go crazy with the texture (apply it as much as you want) then erase the parts that are too much.
|
|
 I start filling inside the figure very roughly, first I apply the base colors and give the lightening effects with lighter volumes of those colors.
After painting the figure completely, I apply texture on it and erase the parts I don't like by using the borders of the figure's layers which I select by clicking Load Selection.
|
