Dark colors are painted on the whole background. It brings nice atmosphere.
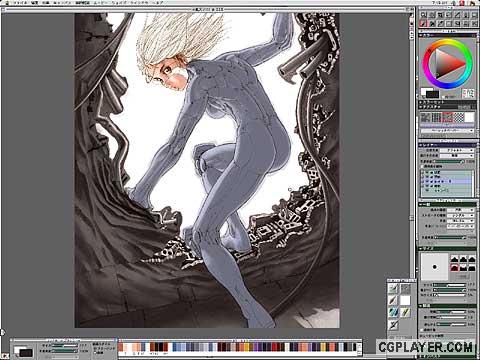
I named a dark color layer "dark-part" and made a new layer under it and painted neutral colors mainly on reflections over
objects.
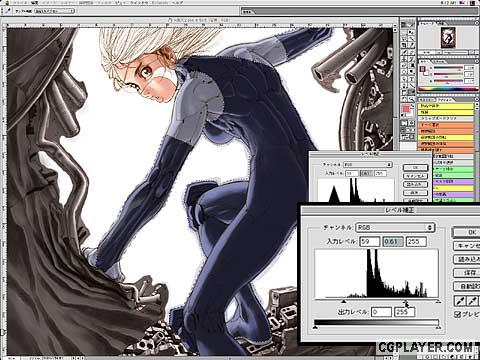
In this stage, I saved "w-airhole.psd". On photoshop, I made a selected area with pen tool in her body and decreased
brightness there and saved.
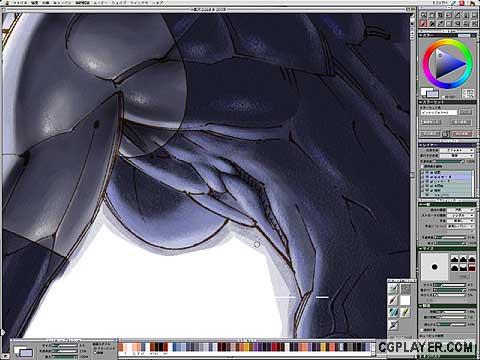
On painter, I opened "w-airhole.psd" and painted bright part and dark part of her body on each layer.
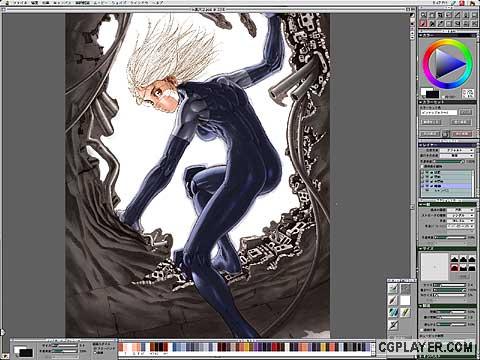
Gally's body is almost finished.
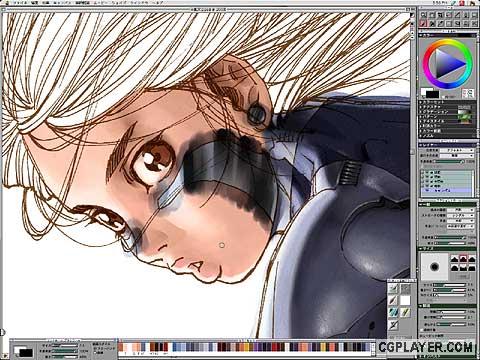
I selected canvas and painted the metal plate on her cheek.
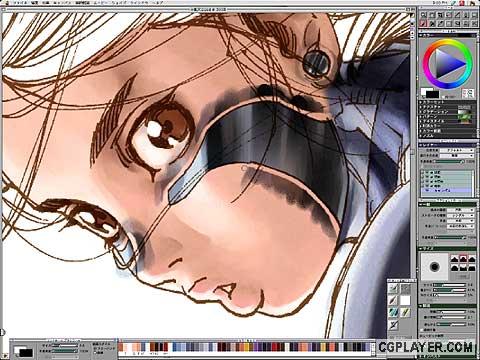
I erased overflows carefully with water brush eraser.
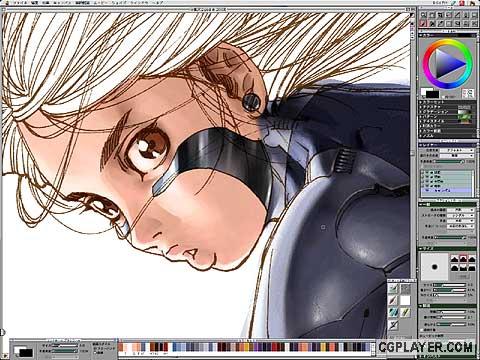
The metal plate is finished.

I thought Shadow part of her face was too brighter than background and her body, so I added more colors.
I made a new layer and painted brown colors with drymedia and choke(slim) in fill+soft mode.
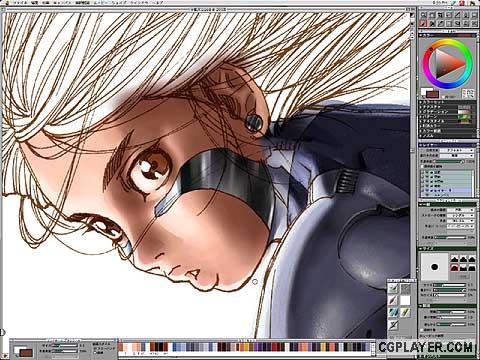
I erased overflows and retouched border of shadows with opaque eraser.
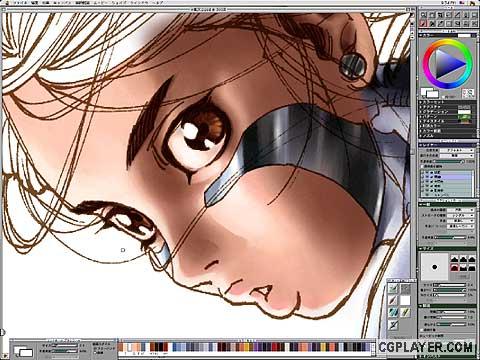
I painted details of her eyes with drymedia and choke(slim) in fill+flat mode excepting touchup such as highlights because I
planned to do it in the final stage.
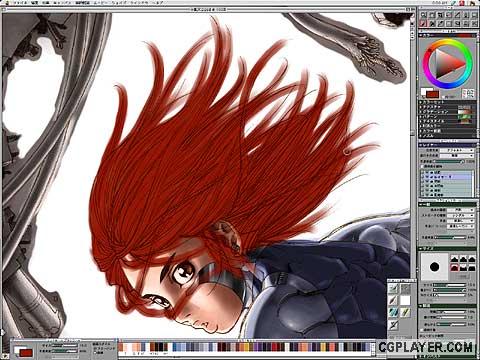
How to draw hair is very important because it often dominate impression of characters. After try and error, finally I decided
to draw hair with brush on another layer.
It eases retouch and composition with background. I made a new layer and painted dark red color.
It is a translucent color of brunet hair which are not pure black but red brown near black. In highlight, hair shine red or gold.
To express it, I use 3 layers and one hightlight layer and painted with drymedia and choke(slim) in fill+soft mode.
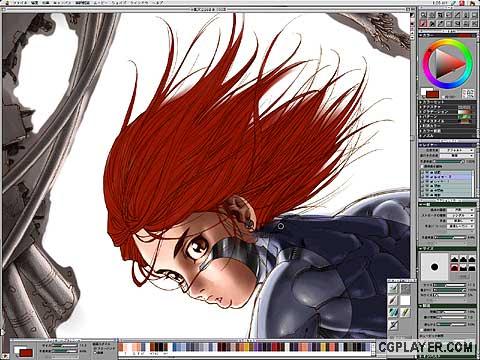
I erased overflows. I reserved blurred colors on streaming hair to express depth.
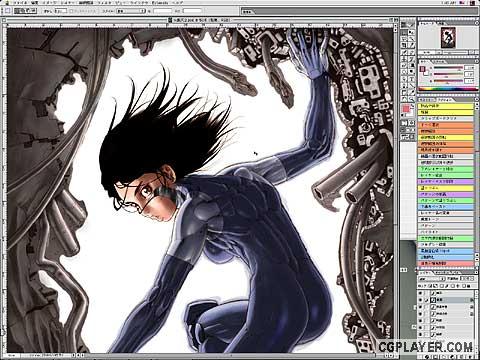
On photoshop, I copied that hair layer and made 3 layers and named them "hair trancelucent color" and "hair basic color"
and "hair black".
With "hue and chroma" tool, I changed "hair basic color" to yellowish brown, "hair black" to pure black.
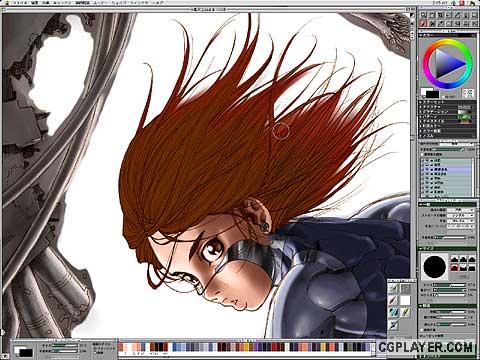
Again on Painter, I erased colors of "hair basic color" partially and made "hair trancelucent color" appear.
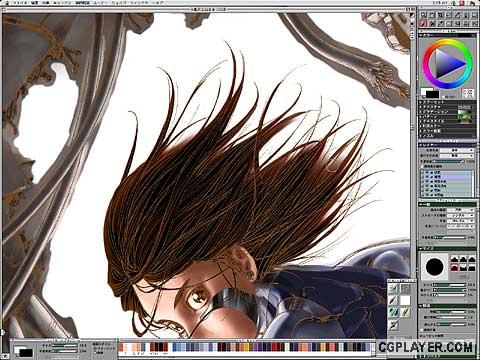
In the same way, I erased colors of "hair black" partially and made "hair trancelucent color" and "hair basic color" appear,
seeing "line layer" in composition mode "normal".
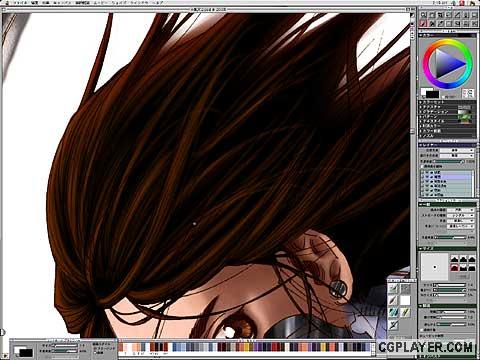
I changed composition mode of "line layer" to multiple and see the whole image. With black color of sharp brush, I adjusted
hair's flow and saved.
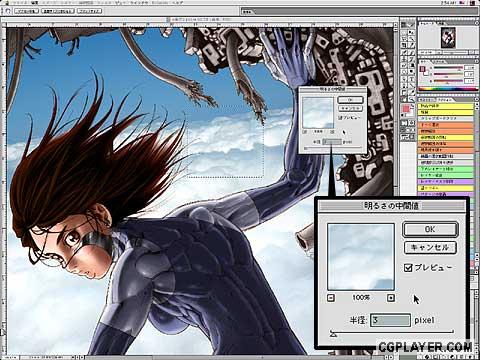
I found a good photograph in free materials for clouds of the distant view. On Photoshop, I opened "w-airhole.psd" and
made selected areas for the composition of the distant view.
And I copied the picture of clouds into selected areas and adjusted. All photograph have particulate noise and it brings
sense of dinscomfort with hand-drawn pictures. So I used filter and removed noise.
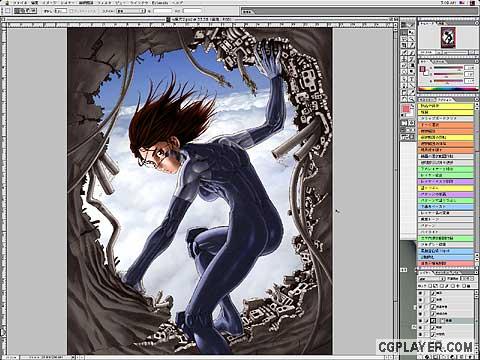
I checked whole image so far.
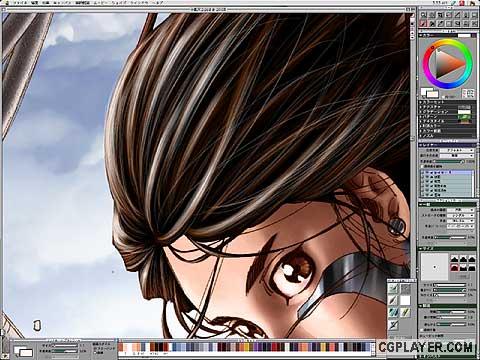
It is the final stage.
On painter, I made a new layer on "line layer". Using choke(slim) and fill+flat brush, I added highlights of white orange color
and retouched with sharp eraser brush.
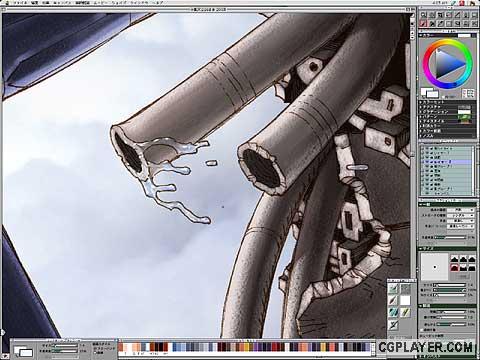
I drew leaking water from the pipe on another layer. In this stage, works on Painter were all finished.
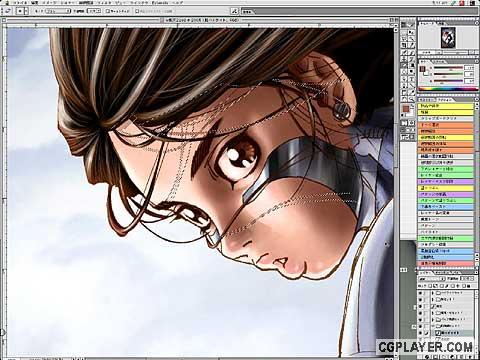
It is the final touchup on Photoshop.
To express shadows of hairs on her face, I made selected area by pen tool and took color of shadow by spoit tool, and
painted with airbrush.

Shadows are finished.I retouched highlights of her eyes, and painted reflecting lights on her shoulder and hairs and
waterdrops with airbrush.
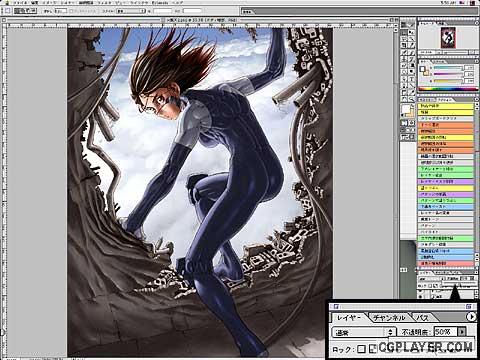
I felt dark part of her body was too dark, so I decreased opacity of the layer to 50%. And I also did so for shadows on her
face.

Contrarily, I thought walls of the background was better to be darker. On an adjustment layer, I used "level adjustment" and
made it darker.
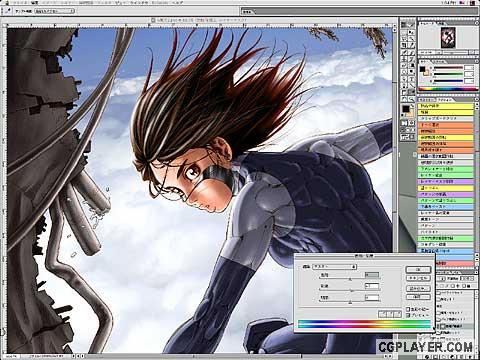
I did a test printing and felt more redness of her face was needed. So I made selected area on her face and adjusted with
"hue and chroma".
And it was finished!
I named it "airhole.tiff" and saved. It is the completed file.

